The Bunsen burner plays a vital role in laboratory experiments, serving as a trusted tool in science education and professional research. The simple yet effective design makes it indispensable for heating, sterilising, and conducting various tests. However, common issues like uneven flames, blockages, and ignition failures can disrupt experiments, leading to frustration and delays.
Understanding how a Bunsen burner operates and troubleshooting these problems effectively is key to maintaining a seamless workflow, whether you're working with a detailed setup or referencing a Bunsen burner diagram for guidance.
How Bunsen Burner Works
Knowing how the Bunsen burner works starts with examining its structure. A standard Bunsen burner includes a barrel, an air vent, a strong base, and a gas inlet. The gas inlet links to a fuel supply, and the air hole enables oxygen to blend with the gas, producing a regulated flame upon ignition.
What is the purpose of the Bunsen burner? Its adaptability renders it essential in labs, facilitating activities like heating materials, sanitising instruments, and performing chemical processes. Proper setup is crucial—ensuring secure connections and adjusting the air hole to achieve the desired flame type. Regular maintenance, such as cleaning blockages and inspecting the gas supply, helps maintain performance and ensures safe operation for all your experiments.
Common Issues with Bunsen Burners and How to Troubleshoot Them
Bunsen burner parts and functions can sometimes experience issues, but most are easily resolved with proper troubleshooting techniques. Here are some common problems and their solutions:
Uneven or Flickering Flames
Irregular or flickering flames are frequently the result of an incorrect gas and air mixture or obstructions in the burner. To resolve this problem:
-
Modify the air intake: Turn the air hole collar to control the airflow and attain the preferred flame shape and brightness.
-
Check the gas supply: Ensure that the gas is flowing correctly and that there are no leaks or blockages in the gas line or valve.
-
Clean the burner tube: Over time, the buildup may form within the tube, leading to inconsistent flames. Take apart and clean the barrel using a brush or compressed air.
Blocked Jets or Air Holes
Blocked jets or air holes can disrupt the proper gas and air mixture, leading to uneven or weak flames. To troubleshoot this issue:
-
Inspect the air holes: Ensure they are clear of any debris or residue that could obstruct airflow. Use a small brush or pipe cleaner to gently clear any blockages.
-
Check the gas jets: Over time, the gas jets can become clogged with debris or residue from the gas supply. Carefully clean the jets using a thin wire or compressed air, taking care not to damage them.
-
Disassemble and clean the burner: If the blockages persist, it may be necessary to disassemble the burner and thoroughly clean all components, including the barrel, air holes, and gas jets. Follow the manufacturer's instructions for proper disassembly and reassembly.
Ignition Failures
Ignition failures can be frustrating and often stem from issues with the parts of a Bunsen burner. A common cause is an improper gas-to-air ratio, which prevents the flame from igniting effectively. To troubleshoot this problem:
-
Check the gas supply: Ensure that the gas valve is open and the fuel is flowing. Inspect the gas line for any kinks or blockages that could restrict the flow.
-
Clean the burner components: Residue or debris in the barrel or jets can hinder ignition. Disassemble the burner and clean the barrel, air hole, and gas jets carefully to remove any obstructions.
-
Examine the ignition source: Ensure your lighter or spark igniter is functioning correctly and positioned close enough to the gas outlet to ignite the mixture.
By addressing these issues and keeping all parts of a Bunsen burner clean and well-maintained, you can avoid ignition problems and ensure a smooth start to your experiments.
Flame Goes Out Frequently
A flame that frequently goes out can be a frustrating issue, disrupting your experiments or tasks. This problem is often caused by an improper gas-to-air ratio, a blocked gas jet, or a faulty gas supply. Here are some troubleshooting steps to address this issue:
-
Inspect the Burner Components: Disassemble the burner and check for any obstructions or residue in the barrel, air holes, or other components. Clean them thoroughly using a brush or compressed air, following the manufacturer's instructions.
-
Check for Drafts: Drafts or air currents in the area can cause the flame to extinguish. Ensure that the burner is positioned away from open windows, fans, or other sources of air movement.
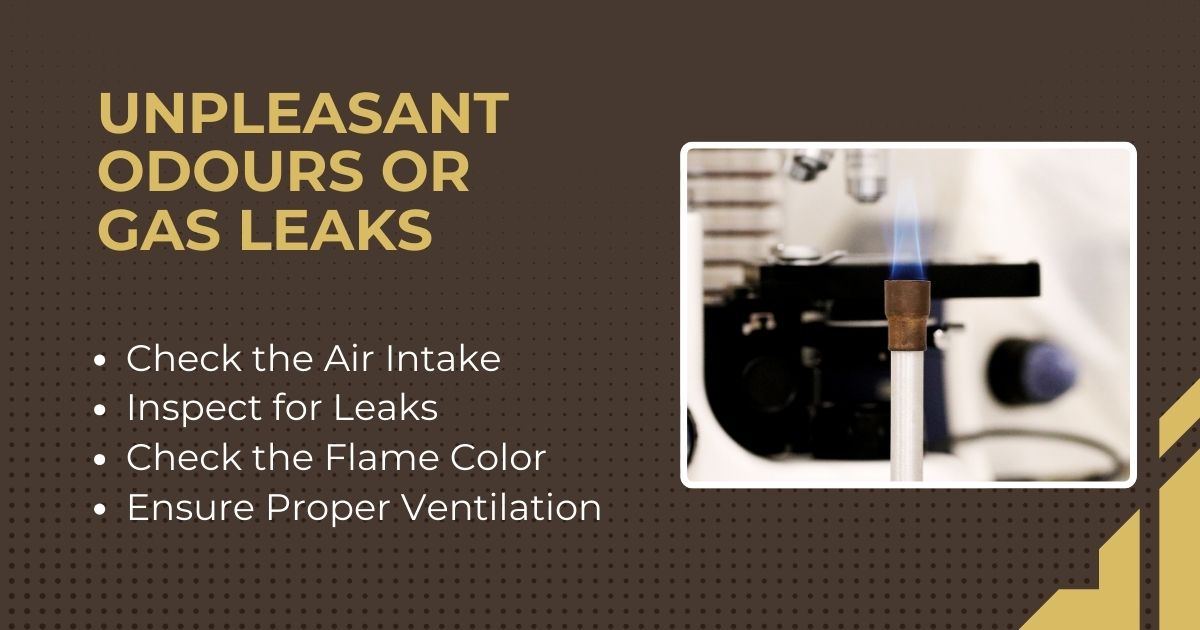
Unpleasant Odours or Gas Leaks
Unpleasant odours or gas leaks from a Bunsen burner can be a safety concern and should be addressed promptly. These issues can be caused by incomplete combustion, contaminated gas supply, or leaks in the burner or gas line. Here are some steps to troubleshoot and resolve these problems:
-
Check the Air Intake: Improper air-to-gas ratio can lead to incomplete combustion, resulting in unpleasant odours. Adjust the air intake by rotating the collar to achieve the correct air-fuel mixture.
-
Inspect for Leaks: Carefully inspect the burner, gas line, and connections for any leaks. Small leaks can cause gas odours and pose a safety risk. Use a soap solution or a gas leak detector to identify and repair any leaks.
-
Check the Flame Color: A yellow or orange flame can indicate incomplete combustion, which can produce unpleasant odours. Adjust the air intake to achieve a blue flame, indicating proper combustion.
-
Ensure Proper Ventilation: Inadequate ventilation can cause gas odours to accumulate in the work area. Ensure that the room is well-ventilated or use the burner in a fume hood if available.
Tips for Preventing Common Bunsen Burner Issues
Routine maintenance is key to ensuring your Bunsen burner operates efficiently and safely during experiments. Regular care prevents common problems like blockages and uneven flames and extends the life of the equipment. While you may not always rely on a bunsen flame diagram during upkeep, understanding the burner's components and flame behaviour is crucial for proper maintenance.
Here’s a simple checklist to keep your Bunsen burner in top condition:
-
Inspect the air holes and gas jets regularly: Clear any debris or residue to maintain a proper gas-to-air mixture.
-
Clean the burner barrel: Use a small brush or compressed air to remove buildup that could affect flame quality.
-
Check gas connections: Ensure the gas inlet and tubing are securely attached and free from leaks.
-
Adjust the air intake properly: Rotate the collar to achieve a stable and efficient flame.
-
Test the ignition source: Verify that your lighter or spark igniter produces a strong, consistent spark.
-
Store the burner safely: After use, disconnect it from the gas source and store it in a clean, dry location.
Wrap-Up: Perfecting Your Bunsen Burner with a Bunsen Burner Diagram
In summary, understanding how your Bunsen burner works, troubleshooting common issues, and performing routine maintenance is crucial for ensuring safe and efficient use. Proper care of the parts of a Bunsen burner, such as the air holes, gas jets, and ignition system, helps prevent issues like uneven flames, blocked jets, and ignition failures, allowing you to focus on the success of your experiments. Referring to a Bunsen burner diagram can also be a helpful tool for visualising the components and ensuring everything is in place.
At Science Equip, we understand the importance of having well-maintained laboratory equipment. For expert advice or to explore our range of high-quality products, feel free to get in touch with us. Don’t forget to share this blog with your peers and continue exploring the world of scientific tools!


